# 4. Active buzzer
## 4.1.Overview
The electronic buzzer is DC powered and equipped with an integrated circuit. They are widely used in computers, printers,
copiers, alarms, electronic toys, automotive electronic equipment, telephones, timers and other electronic products for voice
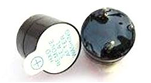
equipment. Buzzers can be divided into active buzzers and passive buzzers. Turn the two buzzer pins upward. The one with
the green circuit board is the passive buzzer, and the other one sealed with black tape is the active buzzer. In this section you
will learn how to use an active buzzer to generate a sound that sounds for half a second and then stops for half a second.
## 4.2. Working principle
### 4.2.1. Active buzzer
An active buzzer has an internal oscillation source, and it can sound as long as it is given a high level. Use the delay
function to make the buzzer sound regularly
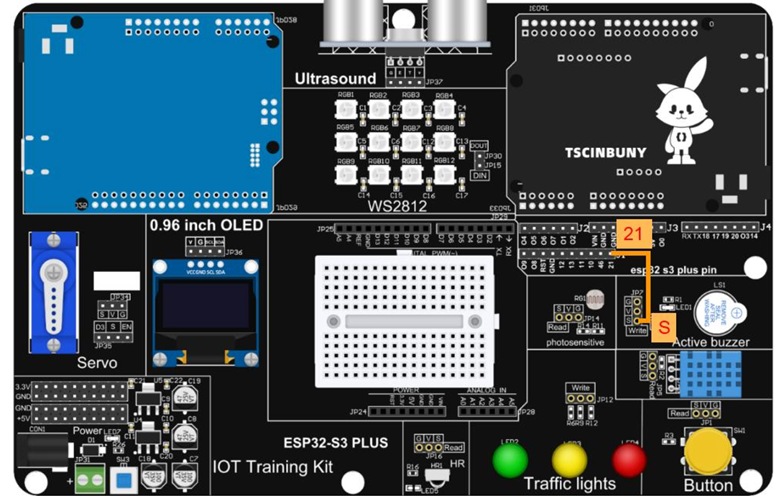
 ## 4.3.Connect lines
 ## 4.4.Upload code
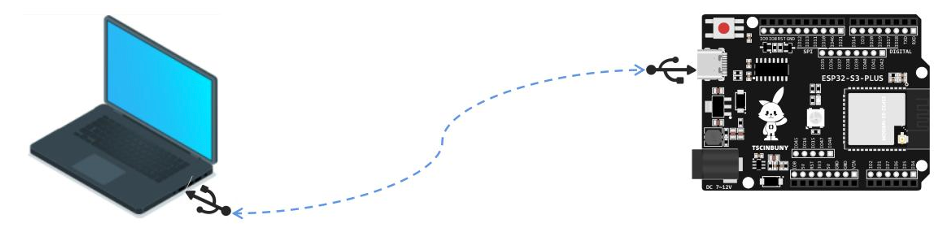
### 4.4.1. Connect the main control board to the computer using a USB cable
## 4.4.Upload code
### 4.4.1. Connect the main control board to the computer using a USB cable
 ### 4.4.2. Open the program file (path: 2_ESP32_S3_PLUS\ Lesson_4_active_buzzer )
Also select the board type as ESP32S3 Dev Module and select the COM number newly displayed when the USB is plugged
in . Then click "Upload" to start compiling and uploading the program to the main control board.
## 4.5. Code analysis
Define the buzzer pin and set the buzzer as an output
```cpp
#define Buzzer 21 // Define the active buzzer pin
void setup() {
pinMode(Buzzer, OUTPUT); // Define the pin as the output working mode
}
```
The buzzer pin is at a high level for 500 milliseconds and then at a low level for 500 milliseconds to achieve a "beep" sound
effect at intervals.
```cpp
void loop() {
digitalWrite(Buzzer, HIGH);
delay(500);
digitalWrite(Buzzer, LOW);
delay(500);
}
```
### 4.4.2. Open the program file (path: 2_ESP32_S3_PLUS\ Lesson_4_active_buzzer )
Also select the board type as ESP32S3 Dev Module and select the COM number newly displayed when the USB is plugged
in . Then click "Upload" to start compiling and uploading the program to the main control board.
## 4.5. Code analysis
Define the buzzer pin and set the buzzer as an output
```cpp
#define Buzzer 21 // Define the active buzzer pin
void setup() {
pinMode(Buzzer, OUTPUT); // Define the pin as the output working mode
}
```
The buzzer pin is at a high level for 500 milliseconds and then at a low level for 500 milliseconds to achieve a "beep" sound
effect at intervals.
```cpp
void loop() {
digitalWrite(Buzzer, HIGH);
delay(500);
digitalWrite(Buzzer, LOW);
delay(500);
}
```